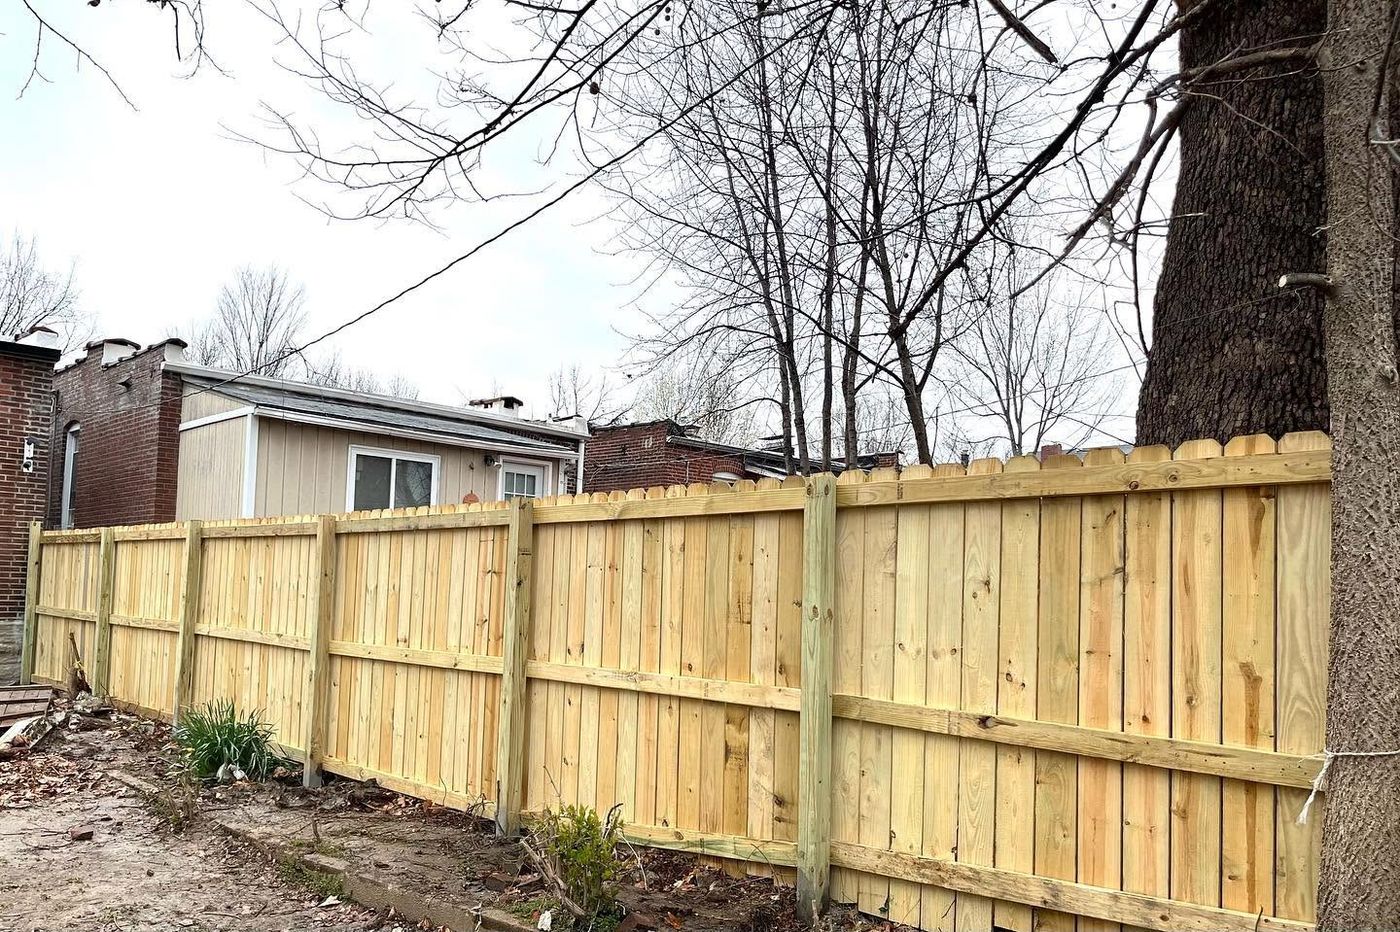
Get your fence bid in about a minute.
No voicemails, no waiting a week, no quote at twice your budget. Enter a few measurements and choices below and get an itemized price right now. Wood privacy fences, St. Louis City.
Instant bid
Priced with full concrete footings. See how I build.
See every line of your bidMaterials, equipment, labor, and the math behind each
Payment scheduleThree payments: start, midpoint, and final
- Sloped or uneven terrain
- Rock, roots, or buried utilities
- Tight access for equipment and deliveries
- Old fence posts set in concrete, which take more time and cost to remove
- Custom gates, special styles, or stain/paint
- Permit or HOA requirements
This isn’t a low bid to get on site.
If your measurements and choices are accurate and your yard has no major surprises, the final bid will match this price. I’ll confirm everything at my site visit. If anything can’t be handled with a zero-cost solution, I’ll tell you right there and add it as an itemized line on the final bid.
Bids are fully itemized, so you see exactly where every penny goes, including fuel, sales tax on materials, and concrete quantities with the math. There’s no markup on materials: you pay what I pay. If some material underruns, keep it or deduct its cost from your final payment. If I need more than I bid because of my own mistake, you don’t pay for it. You only pay for extra material if the scope changes because of a design change or an unforeseen condition, and even then I submit a change order for you to review and sign before any new charge.
30-Day Completion Guarantee
Most contractors won’t promise how long a job takes. I do. The day I start digging post holes starts the clock, and for every day past 30 that the fence isn’t complete, $20 comes off your final payment. Penalties stop the day construction is complete and your 7-day inspection window begins.
The clock can’t start earlier because before digging, my schedule depends on 811 marking utilities and your permit office. Not every job needs a permit. When one does, I handle it and keep you informed.
1-Year Free-Repair Warranty
Once you give final approval, if any part of your fence fails for a construction-related reason, contact me and I’ll come back and repair it free, labor and materials. A year covers freezing winters, hot humid summers, and storms with high winds.
If a car drives through your fence or a neighbor’s contractor drops a wrecking ball on it, I’ll still gladly repair it, but that damage isn’t covered.
How it works
- Get your instant bid. Send it to me and I’ll reach out within 24 hours to schedule a site visit to confirm it. Unless the yard has significant terrain challenges or the measurements were off, expect the final bid to match. Prefer to email, text, or call your measurements? I’m happy to give you a preliminary bid myself.
- Design and contract. A design and contract are drafted, submitted, and signed.
- 811, permit, and layout. I call 811 to mark underground utilities and start the permit process if needed. If there’s an old fence, I remove it, then set the string line for your new one. Details are in How I build, and I’m happy to answer any questions.
- Post setting. Digging post holes starts your 30-day period. Once the posts are set, work stops at a hold point until you inspect, with or without me there, and either approve the phase or raise a concern.
- Rails and pickets. With concrete footings, this phase waits at least 7 days after the pour so the concrete can resist the sideways load of the panels and keep the fence plumb for years. Most footings are strong enough sooner, but there’s no good reason not to give them extra time. You don’t save money by rushing. Fast is slow, slow is fast.
- Final inspection. After construction you have 7 days to inspect and approve, or send a punch list. I have 7 days to finish the punch list, then you have 3 days to reinspect, approve, and make final payment. Your 12-month warranty starts when I receive final payment.
Change orders
A change order is a document with the scope and cost of a change to your approved bid. I do my best during bidding to spot problems and propose low- or no-cost fixes up front, and to include any added cost in the itemized bid. But if you decide mid-project on post toppers or fall in love with a particular stain, I’ll draft an itemized change order. The same goes for extra work unrelated to the fence, like a chicken coop repair or minor landscaping, if I’m comfortable doing it. Depending on the scope, a change order may add days to the 30-day guarantee.
Not everyone needs a 15+ year fence. If you want to cut costs, ask me about the options and what each one trades away. And if you want something other than the standard 6-foot, 3-rail, 8-foot-span picket fence, email me your idea with an example photo if you have one, and I’ll tell you whether I’d like to bid it.
How I build
You don’t need any of this to get a bid, but if you like knowing how the sausage gets made, tap a topic.
Design and layoutFinding the surprises before the posts go in
Design and layout is a lot more than measuring the run and marking post spots. This is where a builder sniffs out every obstacle, seen and unseen. A fence is a level structure, so it also reveals any drop in the ground along its length. Even a few inches can leave a glaring gap under the last panel of pickets, and if your neighbor has a small yappy dog or a family of skunks takes late-night strolls, that gap is an open invitation to your yard.
During layout I set a string line to check slopes we may want to address before construction. I also mark each post hole and drive stakes around it to probe the dig area, so a boulder, a buried brick patio, an old fence footer, or an abandoned pipe that 811 didn’t mark doesn’t end up in the way of a properly set post. Catching these now means an easy adjustment that doesn’t disturb equal post spacing. Crossing fingers and hoping for the best leads to delays, cost increases, and mid-project design changes.
The string lineStraight runs, square corners, and no wandering fence
Setting a string line is perhaps the most important part of the whole build. It marks where the posts go and keeps them perfectly aligned. It lets me square your corners with the 3-4-5 method shown below. And it shows the rise and fall of your yard so we can plan for slopes and avoid pickets that peak and valley like a mountain range.
If you ever see a fence builder who doesn’t set a string line first, consider it a red flag. It’s easy, it’s cheap, and used properly it saves you from coming home to an infuriating wandering fence line.
Fencing a slopeThree clean ways to follow your yard’s grade
There are several ways to fence a slope, and most only take some extra math and planning to look clean and intentional. I’ll talk through your yard’s slope with you, minor or major, and we’ll choose an option during design, before the final bid. In all three, post spacing stays equal. Here are three common solutions:
Post footingsFour ways to set a post, and the one I won’t use
There’s more than one way to set a post. Your choice depends on budget, how long you want the fence to last, and how much maintenance you’re willing to do. The instant bid is based on a full concrete footing, so choosing an alternative could lower your cost.
Whatever the footing, I treat every post section that goes below grade, plus all cut ends and post tops. Those are the front door for moisture.
Concrete footing (the standard)
Concrete keeps a post plumb in the harshest wind, but it costs more in material and labor. The rule of thumb is one third of the post’s length below grade, so a post with 6 ft showing gets a 3 ft setting. That takes a 10 ft post, since 4x4s don’t come in 9 ft lengths. I put 6 inches of crushed stone in the hole, 4 inches under the post and 2 inches around it.
The math: a 12-inch by 36-inch hole with 4 inches of gravel at the bottom needs about 3,225 cubic inches of concrete once the post’s volume is subtracted. Add 10% so I don’t come up short and it’s 2.05 cubic feet per hole. A 60 lb bag makes 0.45 cubic feet, so each hole takes about 4.6 bags, roughly 273 lb dry. For 20 posts, I’m hauling and mixing about 91 bags, over 5,400 lb.
The downside: wood shrinks in hot, dry weather, and even with a domed footing top, a small gap opens where rain can run down the post into the footing. To fight that, I set the post on a drainage-rock base so its bottom never sits in concrete, which would trap water and make a swimming pool. I also seal the post-to-footing joint with an all-weather epoxy.
Earth-and-gravel footing
This one needs a hole only twice the width of your post. You might think a post set in soil will rot fast, but pressure-treated wood resists rot as long as the footing drains well, and drainage is this footing’s big strength. Soil and gravel go in alternating layers, each one compacted.
Hybrid footing
Also known as the Frankenstein footing, it combines the other two to get both drainage and long-term stability. It starts as a standard concrete footing, with galvanized nails or screws driven in at angles to improve grip, then switches to the earth-and-gravel method above the frost line.
The one to avoid
A metal bracket between the post and a concrete stub creates a failure point. Your rails and pickets hang on one side of the post and pull it sideways, even more when wind pushes the fence like a sail. That kind of connection suits something like a deck pier, where the load comes straight down.
About Bradley

I’m Bradley Hoffman, and I build every fence myself, so the person you talk to is the person in your yard.
Before fencing, I was a youth volunteer program director. I raised grant funding for construction projects with local nonprofits, recruited teen volunteers, and ran the build days: teaching volunteers to use tools, take accurate measurements, and build everything from beds to fences to interior wall framing. Those projects helped neighbors in need, and I got to show young people how construction skills can improve other people’s lives.
Today I work as a highway construction technician, on everything from concrete barrier walls and sidewalks to grading, guardrail, and ADA compliance, checking materials and contracts against specs and standards. That habit of building to a standard is why my fences have string lines, itemized bids, and inspection hold points. I still love to build, and fences are how I do it on my own time.
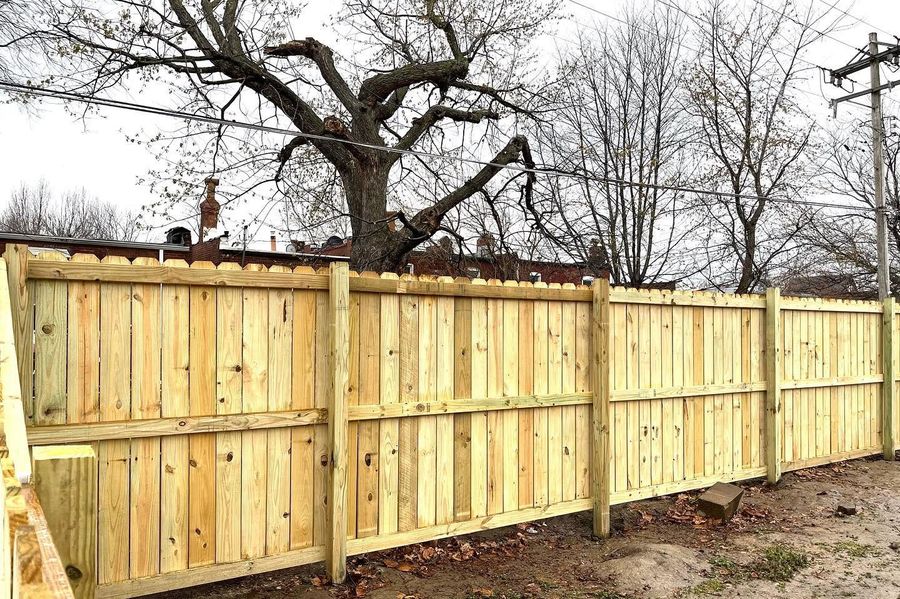
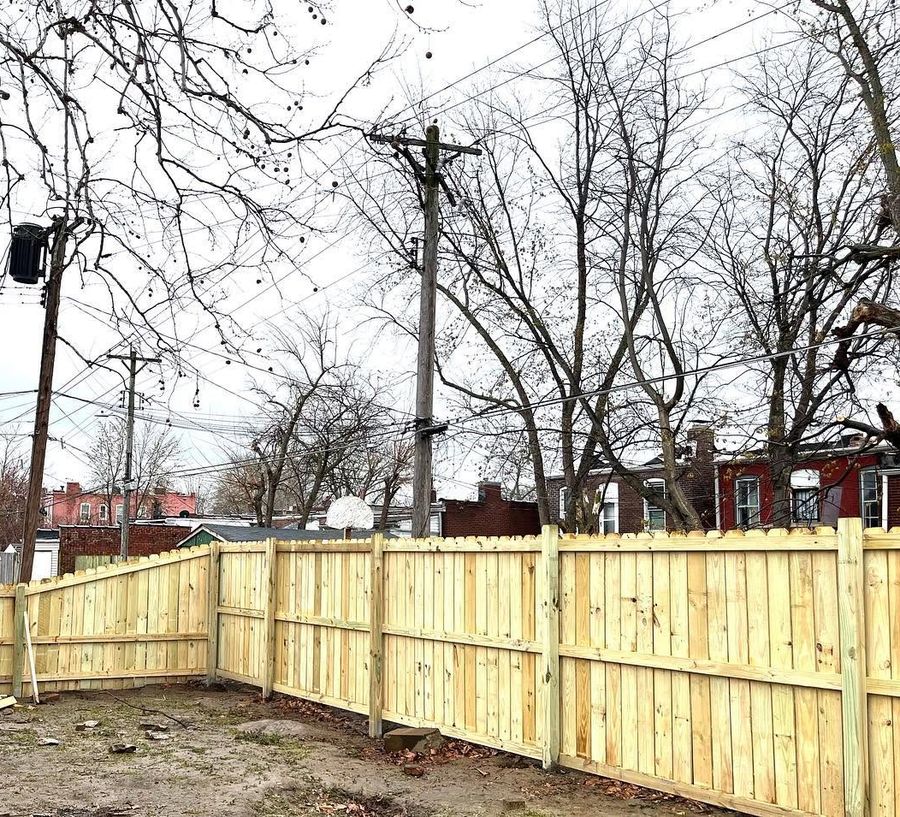
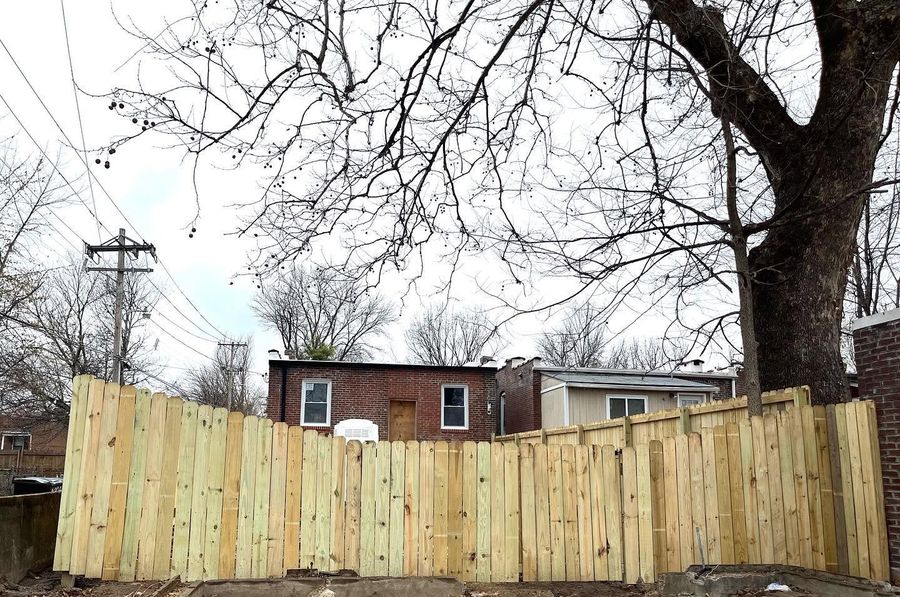
Fence builds I led for community projects.
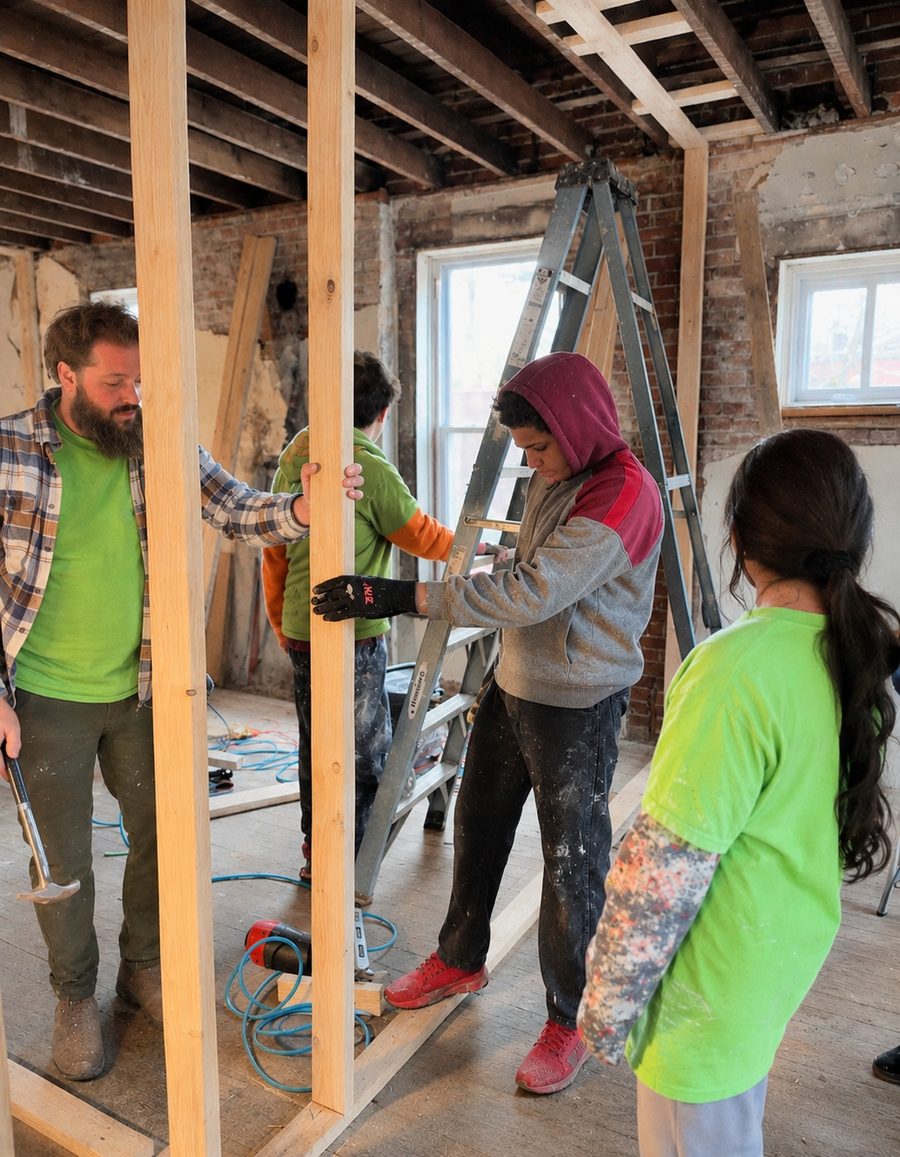
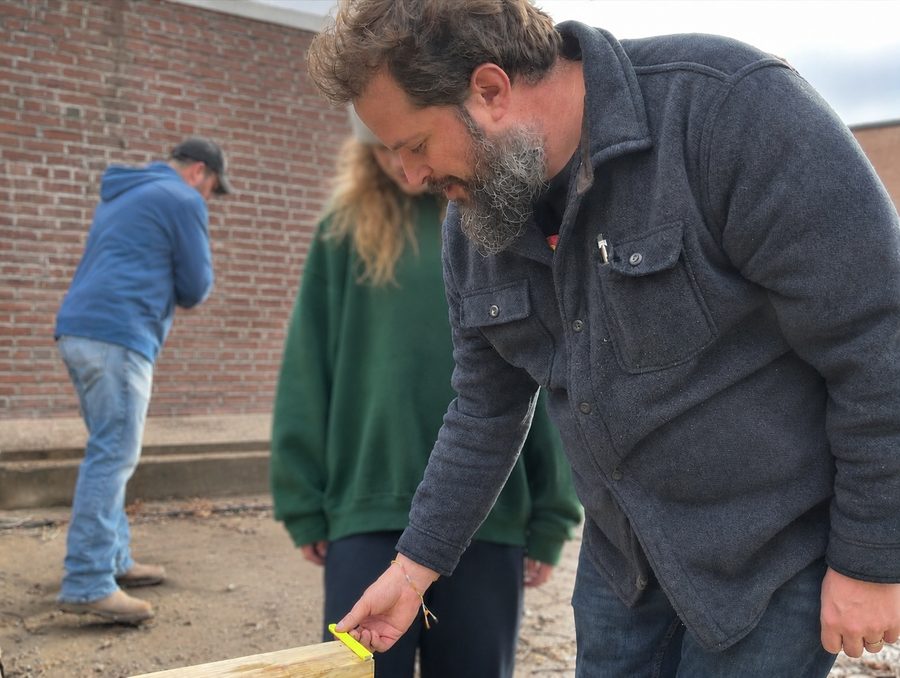
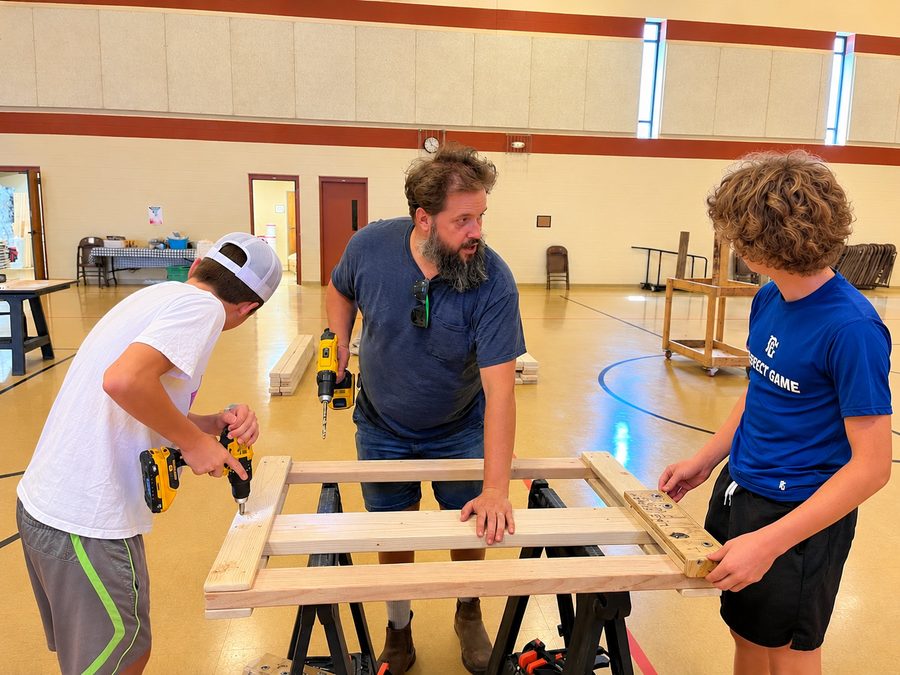
Teaching teen volunteers on community build days.